
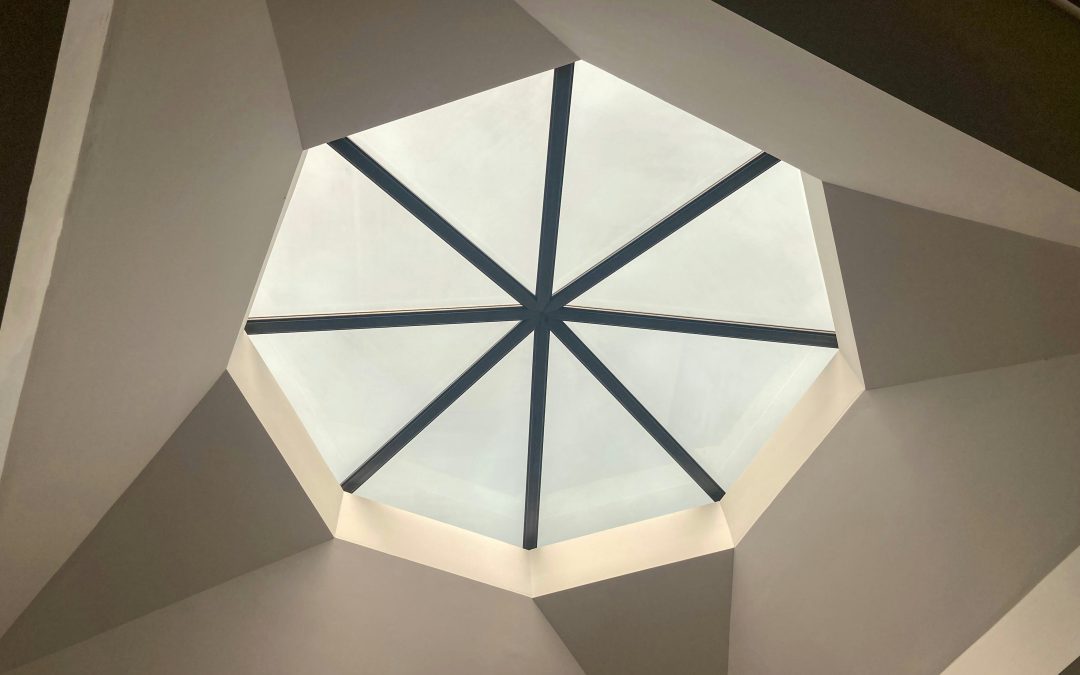
A skylight dome can completely transform a room—bringing in natural light, reducing the need for artificial lighting, and making spaces feel open and vibrant. But like any exterior fixture, skylight domes don’t last forever. Over time, exposure to weather, UV rays, and debris can cause cracks, leaks, or discoloration. When that happens, it’s time to consider a skylight dome replacement.
If you’ve noticed fogging, water stains, or drafts coming from your skylight, this guide will walk you through everything you need to know—from recognizing the signs of damage to choosing the right replacement dome and maintaining it for years to come.
Why Skylight Domes Need Replacement
A skylight dome is designed to be durable, but it faces constant exposure to sunlight, rain, and temperature fluctuations. Over time, even the toughest materials start to degrade. Here are the main reasons homeowners end up replacing their skylight domes:
1. Cracks or Leaks
Small cracks can develop from hail, falling branches, or general wear and tear. Once a dome is cracked, water can seep in during rainstorms, leading to interior damage or mold growth.
2. Discoloration or Cloudiness
Most skylight domes are made from acrylic or polycarbonate. While strong, these materials can yellow or haze over time due to UV exposure, reducing the amount of light entering your home.
3. Drafts and Poor Insulation
Older skylights may lose their seal or insulation efficiency, allowing warm air to escape in winter and hot air to enter in summer. This not only affects comfort but can also raise energy bills.
4. Outdated Design
If your skylight dome is decades old, you may find newer models offer better insulation, noise reduction, and UV protection. Replacing it gives you both functional and aesthetic upgrades.
Signs It’s Time to Replace Your Skylight Dome
It’s not always obvious when a skylight needs replacement, especially if it’s located in a hard-to-reach area. Watch for these signs:
- Visible cracks, chips, or holes in the dome surface
- Condensation or fogging between double domes
- Water stains on ceilings or walls around the skylight
- Drafts or whistling sounds during windy days
- Yellowed or cloudy glazing that blocks sunlight
If your skylight is over 15–20 years old, even without visible damage, it may still benefit from replacement with a newer, energy-efficient model.
Types of Skylight Domes
When replacing your skylight dome, it’s important to know your options. Domes come in different shapes, materials, and layers—each offering unique benefits.
Acrylic Domes
- Pros: Lightweight, affordable, and widely available.
- Cons: More prone to cracking or discoloration over time.
- Best for: Low-cost replacements in mild climates.
Polycarbonate Domes
- Pros: Stronger and more impact-resistant than acrylic; excellent UV resistance.
- Cons: Slightly more expensive but longer-lasting.
- Best for: Areas with hail, high winds, or temperature extremes.
Single, Double, or Triple Domes
- Single dome: Basic and inexpensive but less energy efficient.
- Double dome: Offers better insulation and reduces condensation.
- Triple dome: Ideal for extreme climates, providing superior thermal performance and noise reduction.
When upgrading, most homeowners choose a double-dome polycarbonate skylight for durability and energy savings.
Measuring for a Replacement
Before ordering a new dome, you’ll need accurate measurements. This step is crucial—an incorrect fit can lead to leaks or poor sealing.
- Measure the outside frame (curb-mounted skylights) or the inside opening (self-flashing skylights).
- Take note of the width, length, and dome height.
- Identify the mounting type—curb-mounted or self-flashing.
- Check the manufacturer’s label (often located under the inner frame) for model numbers or specifications.
If your skylight brand is discontinued, many companies offer universal replacement domes that fit most standard curb sizes.
Step-by-Step Skylight Dome Replacement Process
Replacing a skylight dome can be a DIY project for confident homeowners, but safety is key. Always work with proper roof gear or hire a professional if unsure.
Step 1: Inspect and Prepare
Inspect the surrounding frame for cracks, rot, or mold. If the frame is damaged, it must be repaired or replaced before installing a new dome.
Step 2: Remove the Old Dome
Use a screwdriver to remove the screws or clips securing the dome to the curb or frame. Carefully lift the old dome off, watching for sharp edges or brittle plastic.
Step 3: Clean the Surface
Clean the skylight frame thoroughly, removing old sealant, dirt, and debris. This ensures a watertight seal when you install the new dome.
Step 4: Apply New Sealant
Run a continuous bead of weatherproof silicone sealant around the skylight curb or frame. This prevents leaks and helps the new dome adhere securely.
Step 5: Install the New Dome
Carefully place the new dome over the frame, aligning it evenly. Tighten the screws or fasteners gradually in a crisscross pattern to avoid uneven pressure. Do not overtighten, as it can crack the dome.
Step 6: Test for Leaks
After installation, spray water over the skylight to check for any leaks. If needed, add a second layer of sealant around the edges.
Cost of Skylight Dome Replacement
The cost of a skylight dome replacement depends on size, material, and labor. Here’s a general breakdown:
- DIY replacement dome: $100 – $400
- Professional installation: $300 – $800 total (including labor)
- Premium or triple-dome skylights: $500 – $1,000+
While it might be tempting to choose the cheapest option, investing in a high-quality dome pays off through better insulation, durability, and fewer repairs over time.
Maintenance Tips for Longevity
Once your new skylight dome is installed, a little maintenance goes a long way.
- Clean the dome twice a year with mild soap and water—avoid abrasive cleaners.
- Inspect seals annually for cracks or peeling.
- Keep gutters and roof areas clear to prevent debris buildup.
- Check for condensation or drafts after heavy weather changes.
Regular care helps prevent premature wear and keeps your skylight bright and leak-free for years.
Final Thoughts
A well-maintained skylight brings beauty and natural light into your home, but time and weather eventually take their toll. Replacing a worn or damaged dome not only restores your view but also improves energy efficiency and protects your home from leaks.
Whether you tackle the project yourself or hire a professional, understanding the skylight dome replacement process ensures you make smart, lasting choices. With a new dome in place, your rooms will feel brighter, warmer, and refreshed—proof that a little light goes a long way.